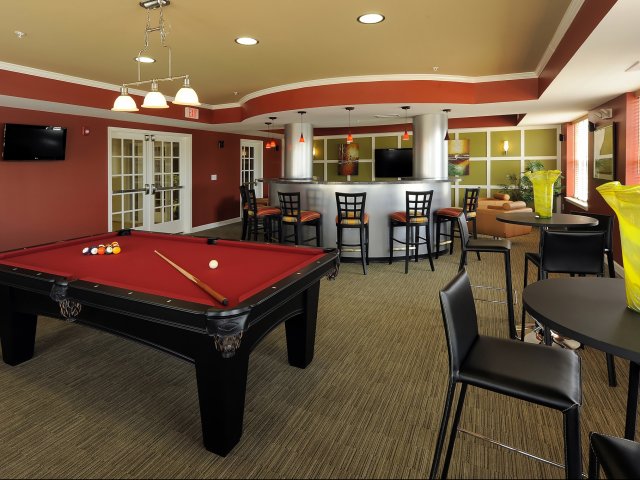
If you own a pool table that has seen better days, don’t rush to replace it just yet. Embarking on a DIY pool table restoration project can not only save you money but also breathe new life into a beloved piece of furniture. In this comprehensive guide, we’ll explore the tips and tricks to transform your pool table into a stunning centerpiece that enhances your game room.
Assessing the Condition
Before diving into the restoration process, it’s crucial to assess the condition of your pool table. Check for any structural damage, worn-out felt, or loose pockets. Identifying these issues will help you prioritize tasks and create a step-by-step plan for the restoration.
Step-by-Step Restoration Guide
1. Cleaning and Disassembly
Begin by thoroughly cleaning the pool table. Remove dust, dirt, and any debris from the surface. Disassemble the table carefully, taking note of each part. This step ensures a clean slate for the upcoming restoration.
2. Repairing Structural Issues
Inspect the table’s frame and legs for any signs of damage. Tighten loose bolts and fix any wobbly legs. If there are significant structural issues, consider seeking professional help to ensure a safe and stable table.
3. Replacing the Felt
The felt is a crucial component of any pool table. Over time, it can become worn, affecting the game’s quality. Replace the old felt with a new, high-quality one. Choose a color that complements your game room’s aesthetics.
4. Leveling the Surface
A level playing surface is essential for a fair game. Use a leveling tool to ensure the table is flat and even. Adjust the table legs as needed to achieve perfect balance.
5. Upgrading the Pockets
If the pockets are sagging or damaged, consider upgrading to new, durable ones. This small change can have a significant impact on both the appearance and functionality of your pool table.
6. Refinishing the Wood
If your pool table has a wooden frame, refinishing it can give the entire table a fresh look. Sand down the wood, apply a high-quality finish, and let it dry completely before reassembling the table.
7. Personalizing with Accessories
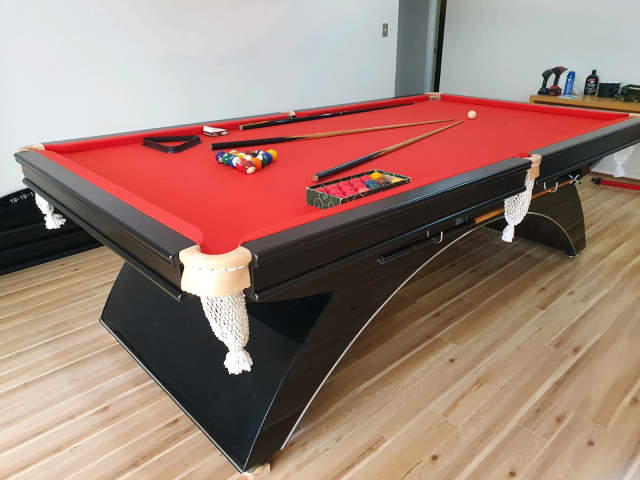
Add a personal touch to your restored pool table with accessories such as new cue racks, ball sets, or even customized decals. These details can elevate the overall aesthetic and make your pool table truly unique.
Conclusion
Embarking on a DIY pool table restoration project requires time, patience, and attention to detail, but the results can be immensely satisfying. Whether you’re a seasoned pool player or just enjoy the occasional game, a beautifully restored pool table can become the focal point of your entertainment space.
Remember, each restoration is unique, and you can tailor these tips to fit the specific needs of your pool table. Enjoy the process, and soon you’ll be playing on a stunningly restored piece that reflects your dedication to both craftsmanship and recreation. For additional tips and ideas about selecting the right billiard table for the home, be sure to visit their page to learn more.